


One of the best ways to learn the various AWS services hands-on is through the AWS CLI, without a doubt.
The CLI gives you a much deeper appreciation of how the services work under the hood than just clicking through the Management Console. You get to know the individual API methods and their parameters and outputs – which gets abstracted away from you in the web UI. This knowledge of API methods also comes in very handy when you dive into the odccassional development / troubleshooting / scripting you may need – say when you want to automate something using lambda or use the AWS SDK.
At the same time the sheer number of services that AWS has – and keeps adding to every day – can get daunting even for the most dedicated practitioners to keep up with.
As you start to use a new AWS service the initial learning curve can be steep if you choose to do it using the CLI. You spend a lot of time refering to documentation and experimenting with the syntax of the methods, their input parameters, parsing the output format to get the information you need, etc. Like may other things in life, unless you keep using this new knowledge fairly regularly from then onwards, you are likely to forget most of these details. Unlike your python code or bash scripts that encapsulate your learning and you can pick up from your last version, all your “work” on the CLI is ephemeral – as in there is no lasting record of the commands you issued, their sequence and inputs/outputs for your quick reference later.
The processing of having to re-learn some of the details and familiarize yourself with the nitty gritty all over again is often a drain on our productivity and poses a hurdle to our motivation to learn more.
I found that using Jupyter Notebooks (and JupyterLab) to execute the CLI commands overcomes some of these challenges. Having a saved history of all the commands you executed, ability to easily edit or re-run yyour previous commands in any order, ability to collapse verbose outputs, the ability to version and save your work, and very importantly the ability to document your code – all these come in super-handy when you are incrementally skilling up.
We know that Jupyter is not originally designed with the command line in mind. But there are ways in which you can get it to work with the AWS CLI. In this blog post we will walkthrough the steps to setup a Jupyter notebook for such use. I will also show you a few examples of using the CLI once setup this way. For the sake of simlicity I will limit these examples to basic AWS services like S3 and CloudFormation but you can easily extend it to all operations exposed by the CLI. (The notebook used in this blog post is available on github.)
Table Of Contents
Install and Configure the AWS CLI
Follow the steps in the official AWS docs to install and then configure the AWS CLI.
If you work with more than one AWS account, you can setup multiple named profiles – beyond the default profile.
You can edit the aws credentials file by hand to add additional information and comments to each profile you setup so you can manage them all better.
On a default Windows install the credentials file is stored at this path: C:\Users\<username>\.aws
If you want to be super careful about not executing CLI commands against the wrong account by mistake, I would suggest removing the deafult profile altogether. This forces you to explicitly and consciously supply the profile parameter to every CLI command you issue.
|
|
Install Jupyter Notebooks / Jupyter Lab
If you have not already installed Jupyter notebooks, you can do so now by following the official guide from Anaconda – which is the most popular distribution of Python and comes with an easy way to manage your packages and data science tools.
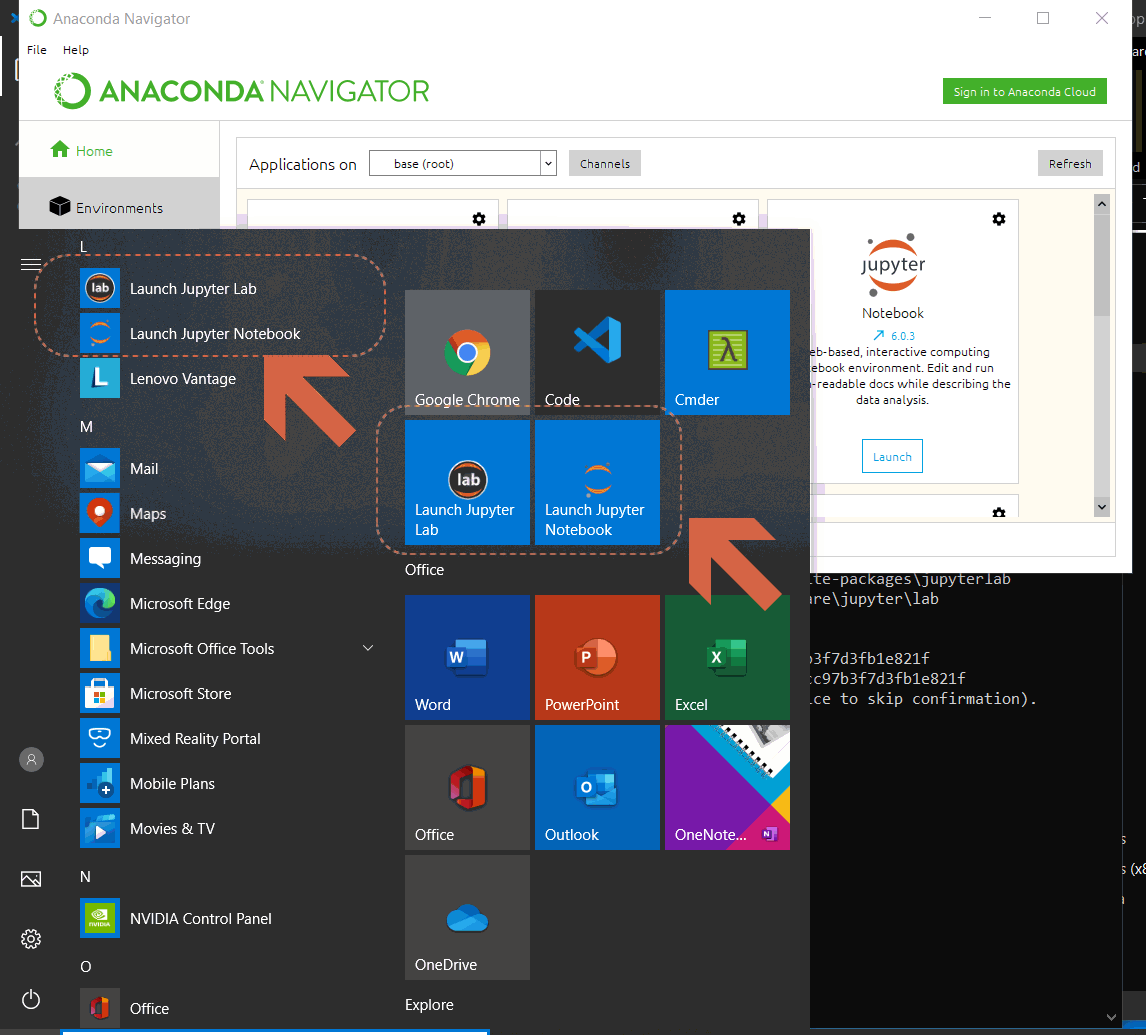
(Optional) Setup shortcuts to launch Jupyter from Win10 Start Menu
To make things easier to launch, you can optionally add shortcuts to your Win10 start menu. I have a separate blogpost with downloadable batch files and icons that will walk you through these steps. Click here.
Create a Jupyter Notebook for CLI
We will go through a number of steps that will make it easier for us to use CLI through a notebook. You may want to first create a new notebook and create a section at the top to house these setup steps.
Environment Variables & AWS Profile
First we setup the OS environment variable named AWS_PROFILE to point to the profile from the credentials file.
You can access the list of OS environment variables from within a notebook using the magic command %env
%env
And to set a environment variable you can use the same command, but with parameters, as follows:
%env AWS_PROFILE=handsonaws-demo
As you might know you can issue shell commands from within the jupyter notebook using the shell magic prefix !
!echo Hello World >> test.txt
!type test.txt
This is very useful, for instance, when you handle local files like CloudFormation templates (YAML/JSON) or IAM policy documents (JSON)as inputs to CLI commands; or upload/download local objects to S3.
With this, you can verify that you have the CLI working with the correct credentials by calling the STS GetCallerIdentity method – from within the notebook as follows.
!aws sts get-caller-identity
Shell aliases
Another handy magic command in Jupyter notebooks that makes lifes simpler working with shell commands in general and also AWS CLI specifically is %alias.
This lets you specify an alias for a shell command that you can invoke from the notebook using the generic line magic % – instead of the specific shell magic ! (why this distiction matters will become obvious shortly).
You can list the current aliases thus
%alias
As you might notice this is a very minimal list and does not include all the recognized commands that you can execute from shell. Specifically we want to be able to invoke AWS CLI using the ‘aws’ command. While there is a way to specifically seup an alias for this command alone – there is a simpler and more robust way : using the %rehashx command.
%rehashx
This command rebuilds the table of aliases for all executables in the system PATH. This should now show a much longer list (depending on the tools installed in your system PATH) and specifically include the alias for aws.
%alias
We will see how to use this to our advantage shortly.
AWS CLI aliases (optional)
In addition to the aliases functionality of Jupyter notebooks, the AWS command-line also has a similar ‘alias’ functionality – where you can substitute one command (within those supported by the AWS CLI) with another that you might prefer.
This is useful if you frequently use a specific command but that is too long to type.
Here is an example –
Create a text file called simply named alias (with no extension) in the AWS CLI path in your local system (C:\Users\<username>\.aws\cli\)
This file follows the INI syntax and you cna create a section and simply list the aliases as follows.
|
|
Here in this example alias file, we are substituting the command sts get-caller-identity with the smaller and more intuitive string whoami. Post this, when you say aws whoami at the commandline, it translates to aws sts get-caller-identity.
As you might guess these aws aliases can get confusing if not used consciously – and beginners who want to learn the AWS CLI would be better advised to avoid these shortcuts before they first get a hang of the CLI commands themselves. Thereafter you can create your own shortcuts based on what commands you most frequently use and want to hack your productivity.
Just as an exercise we can verify and list the contents of this alias file for our own reference
!type C:\Users\username\.aws\cli\alias
From the notebook, using the jupyter alias for aws, you get the following output as you would expect. Note, once again, that we are using the line magic character % and not the shell magic character ! here.
%aws whoami
iPython Auto Magic
Finally you can turn automagic ON in your notebook so you can invoke magic commands without using the line magic character %. This is very convenient if you plan to work extensively with the commandline – as we intend to do here.
%automagic 1
Note however that this doesnt work in 100% of the cases. Especially when you want your commands split across multiple lines – which is another great feature that works great when using notebooks.
Here is an example illustrating everything we have setup so far
aws whoami --query Arn
Using the AWS CLI from Jupyter
With this setup we are finally ready to dive into using the CLI from within our notebook.
List S3 buckets
aws s3 ls
Create an EC2 security group
aws ec2 create-security-group --group-name demo-sg --description "Hands-on AWS CLI Demo"
Describe the security group we just created
aws ec2 describe-security-groups --group-ids "sg-083f8xxxx71ec46a"
Invoking Amazon Translate to translate a piece of text on the fly
aws translate translate-text --text "Hello World" --source-language-code en --target-language-code es
Conclusion
As these examples illustrate, once you go through these steps of setup you can work on any AWS service supported through the CLI – and preserve the record of your interactions with the CLI along with the output for future reference.
We barely scratched the surface with the actual CLI commands here. As we dive deeper we will see more powerful ways in which we leverage the power of Jypyter notebooks and other developer tools and productivity hacks.
References
- Aliases in AWS CLI - https://github.com/awslabs/awscli-aliases
- Environment variables to configure the AWS CLI - https://docs.aws.amazon.com/cli/latest/userguide/cli-configure-envvars.html